Gachanoid 2 - Blender Addon
A downloadable Blender Project for Windows, macOS, Linux, and Android
🚀 Gachanoid 2 - Official Documentation (v2.2.4)
The Ultimate Gacha Character Rig & Animation Tool for Blender
Welcome to the official documentation for Gachanoid 2! This guide will help you master every feature of the add-on, from importing your character to creating stunning animations.
Tutorial Video:
✨ What's New in v2.2.4?
This major update introduces critical fixes and a powerful new rendering mode, solidifying the addon's stability and versatility.
- Multi-rig support and dynamic indexing
- Transform export/import for part positioning
- Advanced tint system with mapping controls
- Modular export/import by character sections
- Animation transfer between rigs
- Enhanced eye control system with independent left/right
- Integrated physics panel for wiggle system
- Camera tracking constraints
- Dynamic bone visibility with modern collections
- Community link integration
🎯 Getting Started
1. Installation
- Download the
Gachanoid2_v2.2.4.zipfile. - In Blender, go to
Edit > Preferences > Add-ons. - Click
Install...and select the downloaded ZIP file. - Enable the add-on by checking the box next to
Render: Gachanoid 2.
2. Your First Character
- In the 3D Viewport sidebar (press
Nif hidden), find the Gachanoid 2 tab. - Click the
Import Gacha OCbutton. This adds a default character and camera to your scene. - (Highly Recommended) Click the
Prep Projectbutton to optimize your scene settings for the best rendering results and stability.
🔧 Core System & Rigging
- Multi-Rig Support: The addon now supports multiple rigs in the same scene with dynamic indexing (e.g.,
Gachanoid 2.001,Gachanoid 2.002). - Enhanced Rig Validation: Automatic detection of valid Gachanoid rigs and mode checking (Object/Pose mode).
- Improved Data Export/Import:
- Export/Import system now handles transforms (location, rotation, scale) for all character parts.
- Versioned export data (
v2flag) for better compatibility.
- Animation Transfer Tool (W.I.P.): New operator to transfer animations and custom properties between two selected rigs.
🔄 Export/Import System Overhaul
- Modular Export/Import: Can now export/import specific sections:
- Body, Hair, Face, Head, Upper, Lower, Extra, Clothing, or Everything
- Transform Preservation: Exports object transforms for accurate part positioning
- Color Import Toggle: Option to import colors during data transfer
- Batch Operations: Transfer data between rigs in the same scene
🛠 Technical Improvements
- Dynamic Driver System: Enhanced driver management with scene refresh operators
- Bone Collection System: Modern bone collection support (replaces old layer system)
- Icon System: Custom icon support with preview loading from assets folder
- Camera Tracking: Built-in camera tracking constraint controls
- 3D Mode Enhancements: Improved 3D mode with better part integration
🎨 Customization Mastery
Once your character is imported, the Customize panel (with its 8 sub-panels) becomes available when the rig is selected.
- 💃 Body: Adjust core body proportions, skin tones, and enable 3D Mode.
- 👒 Hair: Style and color the character's hair.
- 😊 Face & 👀 Eyes: Fine-tune facial structure, eye shape, pupil type, and highlights.
- 🎩 Head: Manage hats, headwear, and other head accessories.
- 👕 Upper & 👖 Lower: Customize all tops, jackets, skirts, pants, and shoes.
- ✨ Extra: Control additional accessories and unique features.
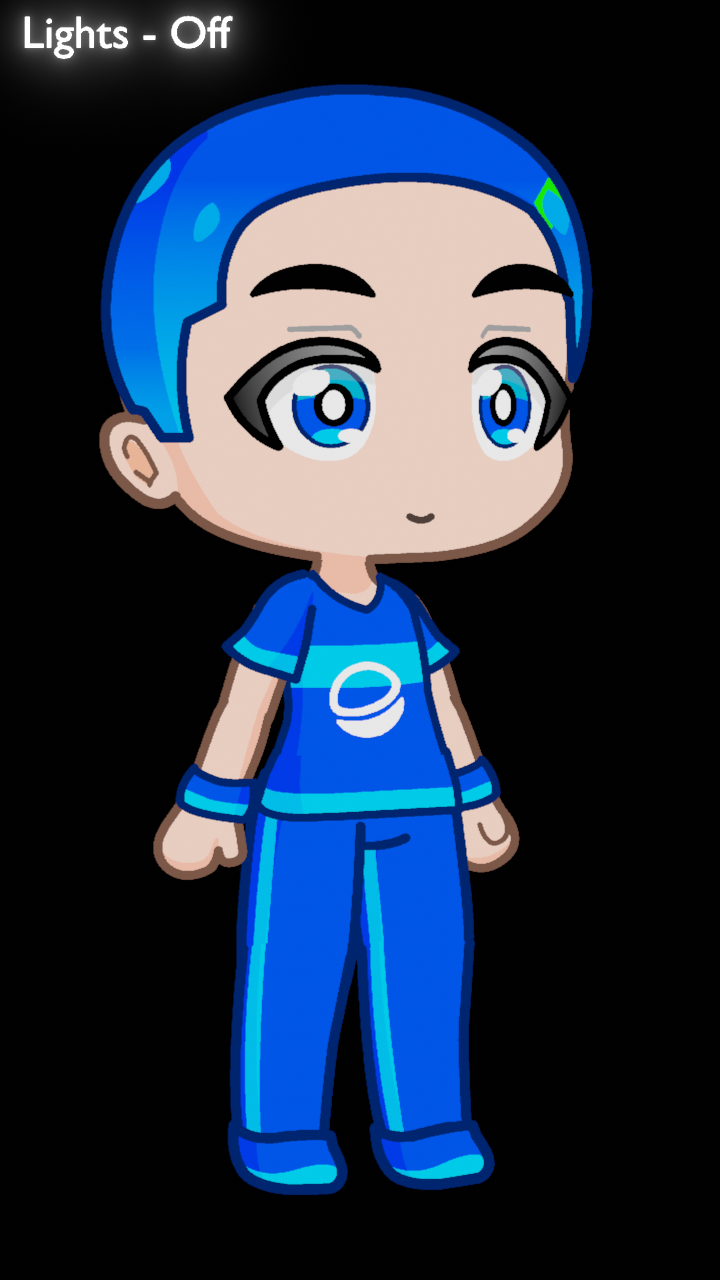
🔥 Feature: Light Reaction! Toggle this option on to make your character's materials dynamically react to the lighting in your scene for more immersive renders.
🌐 Feature: 3D Mode Find this boolean switch in the Body tab. When enabled, it removes the gaps between the character's parts (head, body, legs), creating a cohesive 3D model. This is essential for:
- Rendering with Perspective cameras without visible seams.
- Creating scenes where the character is viewed from dramatic angles.
- When disabled, the classic "Gacha" look with separation between parts is maintained for orthographic views.
🎨 Enhanced Shading System Find the Shade Colors tab. You can now adjust the opacity intensity of the shade color, giving you precise control over the depth of shadows on your character's materials. (Note: This setting applies globally to all parts).
💾 Saving Your OC's Data
Use the Save OC Defaults button to store the character's base state (mouth shape, eye shape, pupils, highlights).
⚠️ Important: After saving, the ability to adjust clothing and accessory parts (e.g., switching hats or shirts) will be disabled. This protects your saved character's design from being accidentally changed during animation. You can still adjust colors and poses.
🎬 Animation & Pose Mode
Switch to Pose Mode to unlock the powerful Animate panel, your control hub for bringing your OC to life.
The 6 Sub-Panels of Animation:
- 🎛️ General
- Change hand gestures, mouth shapes, and eye expressions.
- Adjust blushes, face shadows, and other facial features.
- 🔄 Operations
- Reset Everything! Revert saved features (eyes, pupils, highlights, mouth) to their customized default state with a single click.
- Open/close eyes and more.
- 🎚️ Switches
- Activate or deactivate various rig functions.
- Flip limbs, toggle IK/FK modes, and adjust shadow settings.
- 🧩 Layering
- Manage the layer order of arms and legs for complex poses.
- 🦴 Bone Visibility
- Clean up your viewport by toggling specific bone groups on and off.
- Control visibility for: Facial bones, Hair bones, Tail & Wing bones, Waist cloth bone, Prop handle bones.
- 🌈 Additionals
- Apply color tints across the entire character for quick mood and lighting changes.
- The character's shadow automatically resizes based on the distance from the pelvis bone to the shadow plane.
⚙️ Advanced Features
- Leg IK/FK Bones: Easily switch between IK and FK controls for the legs, giving you more flexibility for animation.
- Physics Add-On (Refined!): The separate physics add-on now includes fixed and improved simulations for hair bones, alongside tails, wings, and other accessories.
- Streamlined Workflow: The UI is refined for a smoother, more intuitive experience.
🎭 New Animation & Pose Features
- Enhanced Eye Controls:
- Independent left/right eye closing/opening
- Separate pupil reset for each eye
- Enhanced highlight toggle system
- Hand Gesture System:
- Individual left/right hand reset to default
- Improved hand IK controls
- Facial Animation Enhancements:
- Separate eyebrow controls (left/right)
- Enhanced mouth and nose controls
- Improved facial accessory controls
❓ FAQ & Troubleshooting
- Q: I saved my OC but now I can't change their clothes!
- A: This is intentional to protect your saved design. If you need to edit the base model again, click on the Extras Collection at the Outliner, then click on the Collections Properties under the Properties panel, then enable Selectable.
- Q: My textures look odd!
- A: Ensure you've run the
Prep Projectbutton. This update also fixed many texture issues!
- A: Ensure you've run the
- Q: Where is the physics option?
- A: The physics system is a separate add-on included in your download. You must install it from Blender's Preferences after installing the main Gachanoid 2 add-on.
- Q: There are gaps between my character's head and body in my render!
- A: Enable 3D Mode in the Body customization tab. This is designed specifically to fix this issue for perspective renders.
🔗 Useful Links & Support
- Discord Community: https://discord.gg/MdXqMPDxnd
Found a bug or have a feature request? Join our Discord community and let us know! Your feedback is invaluable.
Happy Creating!
We can't wait to see the amazing characters and animations you make with Gachanoid 2. Share your work with us online using #Gachanoid2!
Download
Click download now to get access to the following files:
Development log
- Gachanoid 2 - What's New Since v1.6.0 (Up to v2.2.4)45 days ago
- Gachanoid 2 BIG LAUNCH!!!Aug 26, 2025
- GACHANOID 2 OFFICIAL RELEASE (v1.0.0)Aug 13, 2025
- Gachanoid 2 Beta v0.9.2: Lighting Reactions, Texture Overhauls & Final Beta Prep...Aug 07, 2025
- Hot Update (2/4)Aug 04, 2025
- Gachanoid 2 Beta v0.6 UpdateAug 01, 2025
- Gachanoid 2 v3.0.0 Update NotesMay 26, 2025
- Gachanoid 2May 24, 2025

Leave a comment
Log in with itch.io to leave a comment.